FES Assistive Device

September update, Team 3 FES

teampic1

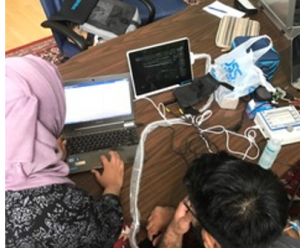
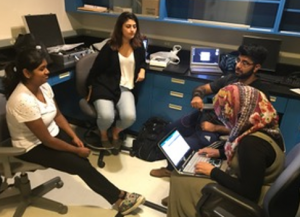
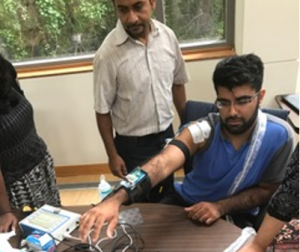
This month, our group has been looking into MATLAB’s ability to perform parallel programming. In our investigation into how to do so, we’ve come to realize that it may be useful to look into python programming for our project to bypass MATLAB’s restrictions in parallel programming. We have improved in delegating tasks among our group members; one of us has been observing a stroke patient’s rehabilitation training at INOVA Fair oaks, two of us have been looking into different sensors to use, and two others are working directly with the MATLAB and Arduino code for the project. One of our mentors has also suggested we investigate muscle activity during Functional Electrical Stimulation using Ultrasound imaging (see images for the set up). More updates to come!

ahmedahmed 2

Final Prototype Demonstration

18472416_10213292639014288_970647161_o

We finished our final prototype demonstration. We would like to thank Dr. Harris-Love, Dr. Sikdaar, and Dr. Ross for all the assistance and feedback during the semester. We are now done for this semester. Using all the feedback we got, we will continue to improve and work on our design through the fire and the flames.

Final Prototype

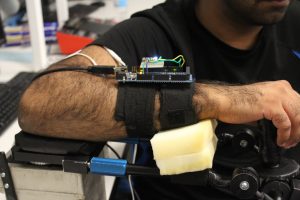
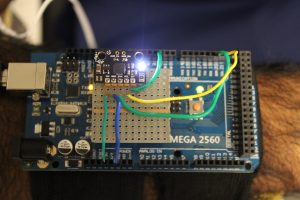
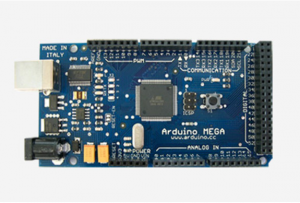
This is the final prototype for the Spring semester. The end product consisted of an IMU MPU 6050 sensor on top of a soldered board. The electrodes were placed on the triceps for the stimulation. The Functional Electrical Stimulation (FES) system that was used was the PurePulse Duo. The sensor data was collected using the Arduino Mega microprocessor.

IMG_6188

IMG_6190

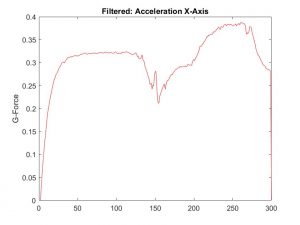
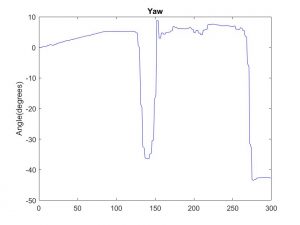
The Arduino data was fed into Matlab to determine the onset of the movement. An algorithm was created in Matlab that first calibrated the sensor. Then, using the filtered accelerometer data of the X-axis, onset of the movement was determined. Once the accelerometer data passed the threshold determined, a message box was created that said: “Stimulate Now.” Once the message box popped up, the person was stimulated. The yaw angle was looked at to track the movement of the arm. Below are sample graphs of our yaw angle plot and the filtered accelerometer data.

AccStim1

YawStim1

Initial Prototype

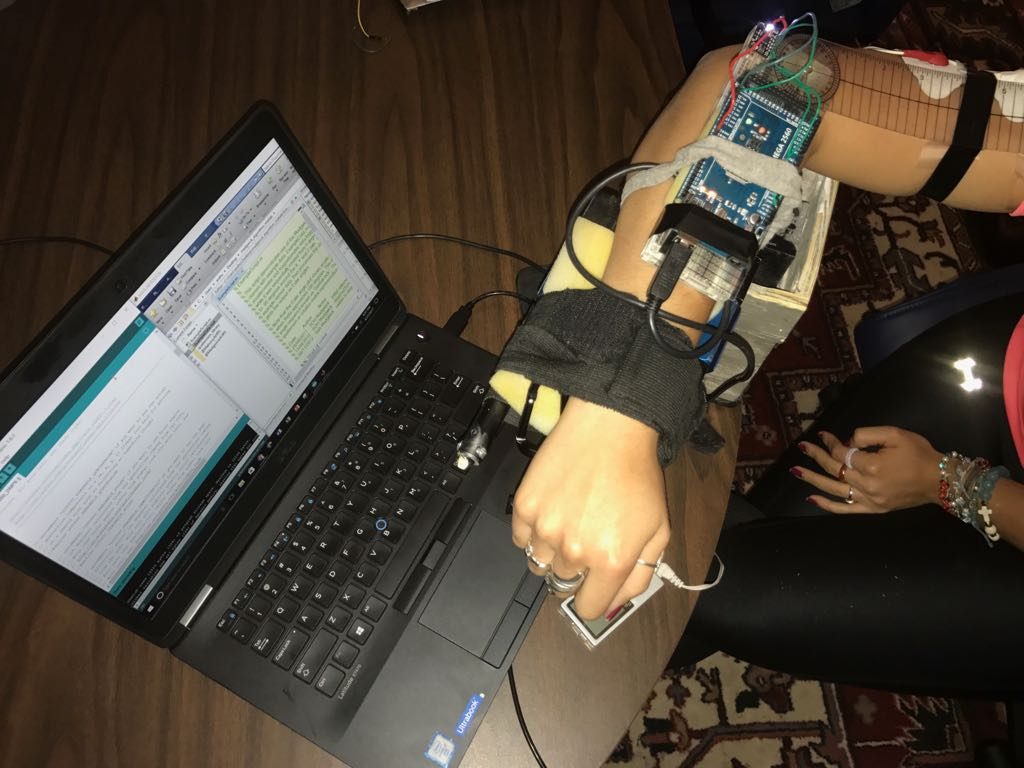
Our initial prototype consisted of a breadboard, a arduino mega, an IMU MPU 6050, and our stimulation device, the PurePulse Duo. Here’s a picture of our initial prototype on the hinge connected to the computer and our stimulation electrodes on the triceps of the upper arm:

initialPrototype

Calculating desired joint angle

Initially, the methodology to calculate the desired joint angle is as follows: simply integrate the accelerometer data twice, and integrate the gyroscopic data once (as gyroscope yields angular rate). However, upon doing this, we realized that the data/plots were inaccurate. This is because when integrating, the noise is also added (oops). Numerous filters were designed to overcome this complication, but to no avail. Instead, other calculations were calculated instead: Yaw, Pitch, and Roll. These measurements proved to be much more useful, and accurate.

Yaw, pitch, and roll are common values used in aerodynamics, used to stabilize planes, quadcopters, or anything of this sort. The three dimensional axis are shown below. Since we are moving across the X-Y axis, we will be using yaw to measure our joint angle; yaw is the rotational movement around the Z axis, as shown in the figure below.
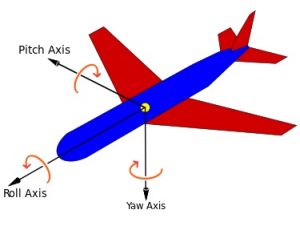
Yaw_Axis_Corrected

The math behind this is Euler angles, which define the orientation of a rigid body with respect to a fixed three-dimensional axis. This means that there will be two defined three dimensional axis, one which moves with respect to the sensor, and one that does not move (the rigid axes). The moving axes shall be compared to the rigid axes in order to calculate the angle, giving us our yaw, pitch, and roll values. However, there is a fundamental mathematical problem of Euler angles, called gimbal lock. Basically, the pitch angle is limited from -90 degrees to positive 90 degrees. Once this occurs, the data behaves in a very wild and erratic manner. Of course, the arm may move past +-90 degrees, so we decided not to go with this. Another method to calculate the yaw, pitch, and roll angles are was implemented, utilizing matrices, known as quaternions. Quaternions are much more accurate, and do not have any sort of limitation as described by the Euler angles.

After implementing the math behind the quaternions, the data was accurate! Furthermore, it was received in real time, with a little bit of a time lag present. Currently, we are working on reducing this time lag.
Horizontal Support Hinge

For this semester, since we’re focusing only on collecting data on the horizontal plane and stimulating the triceps to move the forearm, we needed to create a device that would stabilize the arm in the position. We tried to create a frictionless hinge that could move across the XY plane that wasn’t too heavy and was able to keep the arm stable.

The first hinge that we created was made of wood, a door hinge, and wheels. The weight of the wood would have added onto the weight of the arm which would have caused us to increase the amount of stimulation placed on the patient.

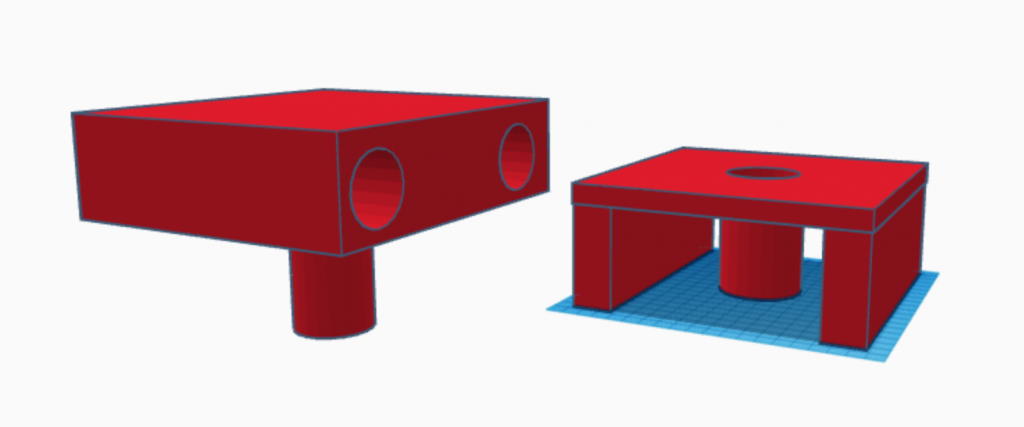
Our next step was to create a 3D printed hinge, to make it less heavy. But the material of the plastic was also noticed to be heavy plus the printer was having issues therefore we decided not to print. Here’s a rendering of what it would have looked like:

3D hinge

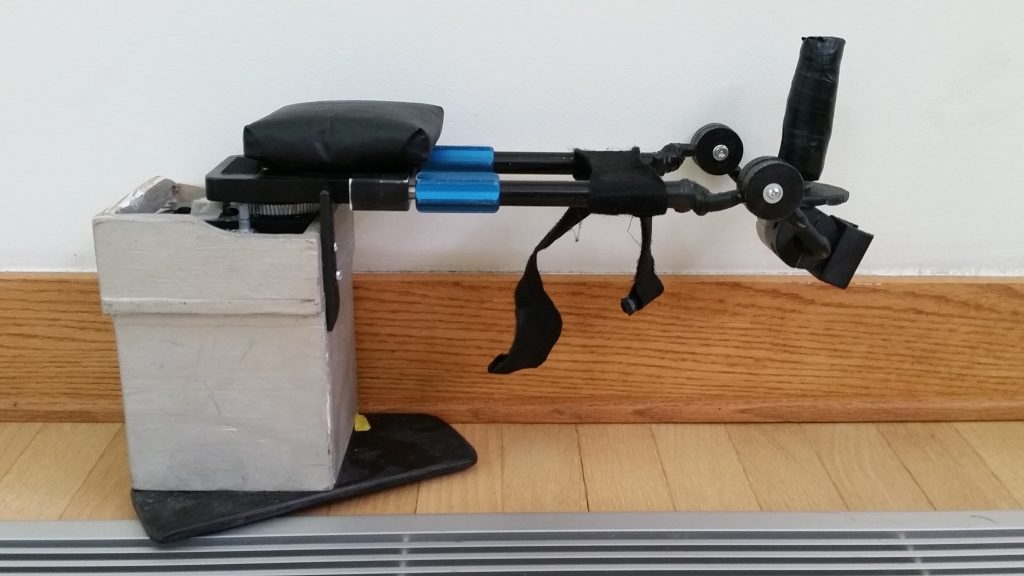
Our final hinge design was to alter a previous senior 2015 senior design groups spasticity hinge and make it frictionless. We took out some the gears to make it easy to move and have no resistance and were able to use it as our one planar hinge for testing and collecting data.
FinalHInge

Arduino: The Micro Processing Element

Of course, any sensor used needs a processor; a microprocessor is preferred, to keep the design lightweight and portable. The microprocessing element for this project shall be Arduino, a popular open source electronics platform. The Arduino board used for this project is the Arduino Mega 2560. It is on the higher end of all the Arduino boards, as it allows for faster processing; faster processing is ideal in capturing data in real time. Below is an image of the Arduino Mega 2560. 

Mega

Chosen sensor: IMU

In order to determine our position, our joint angle, we will need a sensor to do so. Accelerometers have been implemented for this purpose in previous studies. However, the disadvantage to accelerometers is that they are very prone to noise.

The gyroscope is another sensor capable of measuring our desired rotation orientation, however there is a disadvantage to these as well, known as gyroscopic drift. Over long timescales, the gyroscopic data will increasingly become more inaccurate.

Computing rotation from just one of these sensors can be done, but becomes increasingly difficult to implement in real time. However, both the accelerometer and the gyrsocope have their advantages that we would like to implement as well. Rather than choosing between one or the other, why not use both?

Averaging the data coming from accelerometers and gyroscopes will approximate the orientation much better instead of using exclusively one. This is called sensor fusion, and seems to be a much more attractive alternative for calculating the joint angle.

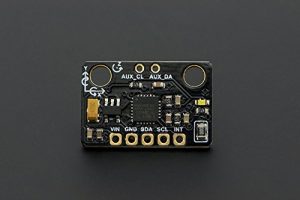
The Inertial Measurement Unit (IMU) is a sensor that combines a 3-axis accelerometer, 3-axis gyroscope, and a digital motion processor. Sensor fusion is much more simpler to implement with one IMU sensor instead of multiple accelerometer and gyroscopes. Furthermore, the IMU itself produces more accurate data.

For now, these IMUs are what will act as the feedback elements of our control system. As we define more degrees of freedom for the reaching movement, we will definitely need more sensors; other different types of sensors are being considered as well. Below is a picture of the MPU6050, the IMU we will be using.

6050

« Previous Page